
How to share a preview link?
You can share your Webflow sites with others by:
- Sharing your site’s read-only link
- Adding content editors to your site
- Adding members to your Workspace
Each option gives your collaborators and team members a different level of access. With a read-only link, anyone with the link can view your site, but any changes they make won’t be saved. Content editors can view your site and edit site content (e.g., text, links, images, products, and CMS content) or change page settings in the Webflow Editor. Depending on their role, Workspace members can view the site, edit content, and change the site’s layout, styles, and interactions. Learn more about Workspace roles and permissions.
In this lesson, you’ll learn:
How to share a read-only link
If you’d like to share your site on the Webflow forum or with a colleague, you’ll probably want to protect your work by sharing a read-only link.
Important:
To share a read-only link, click the “share” button in the Designer’s top toolbar and toggle Share read-only link to “on.” From there, you can copy the link and share it wherever you’d like.
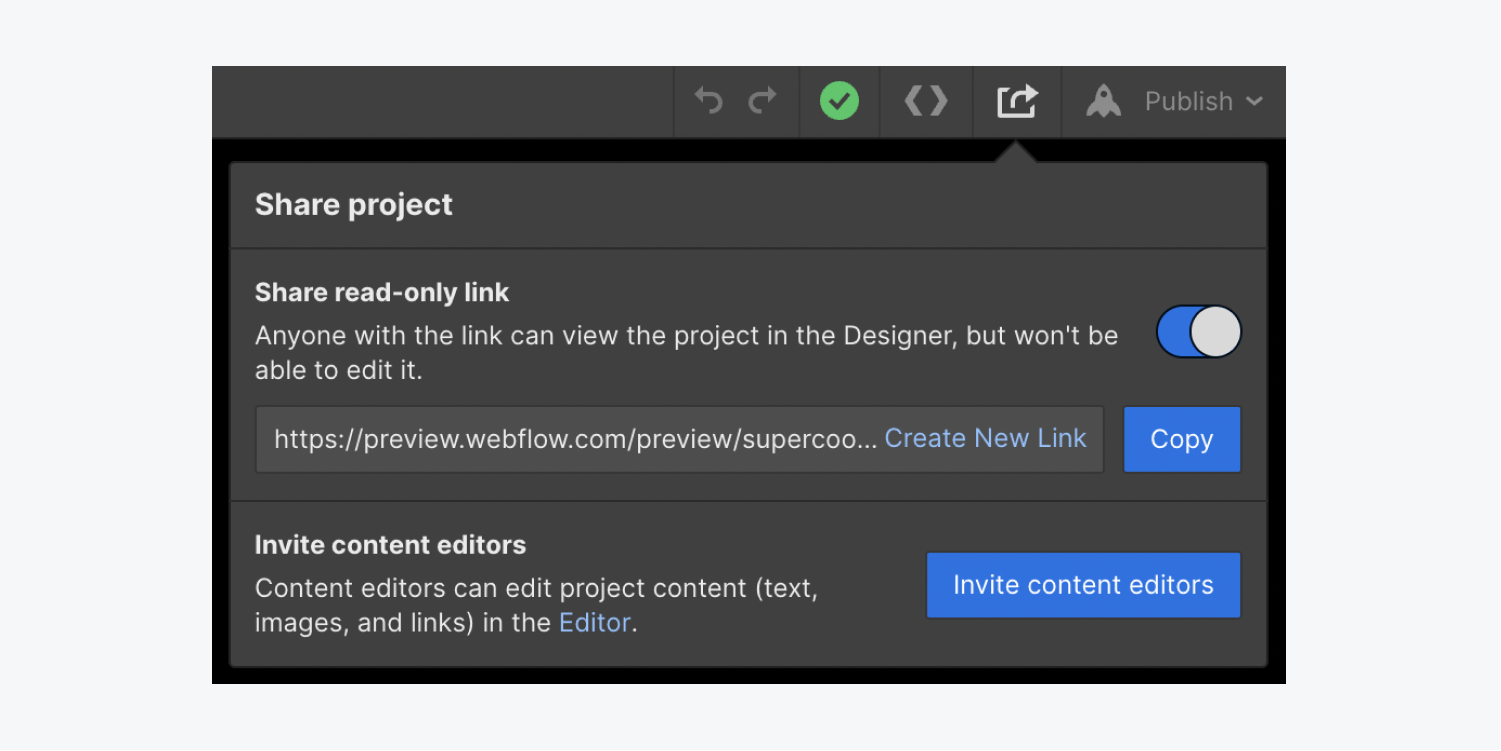
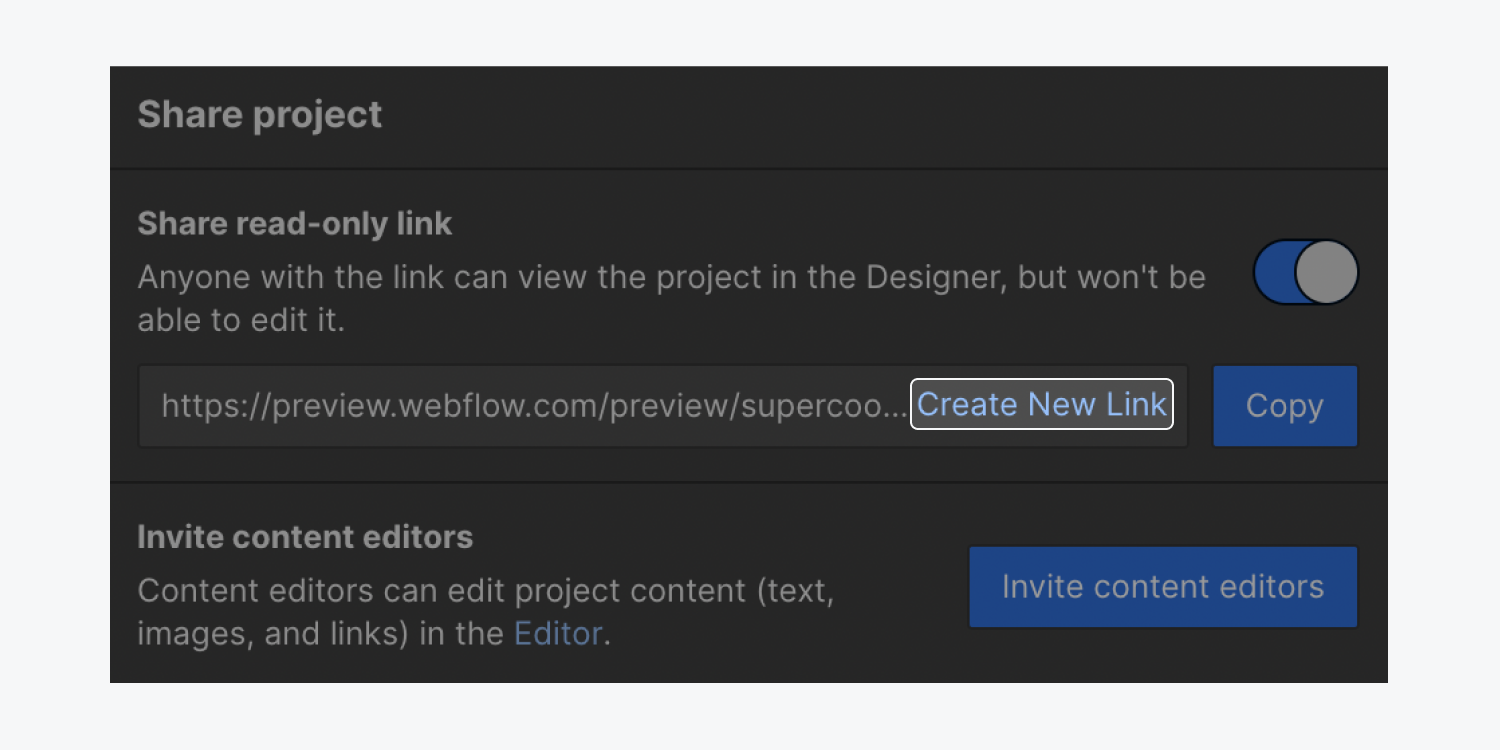
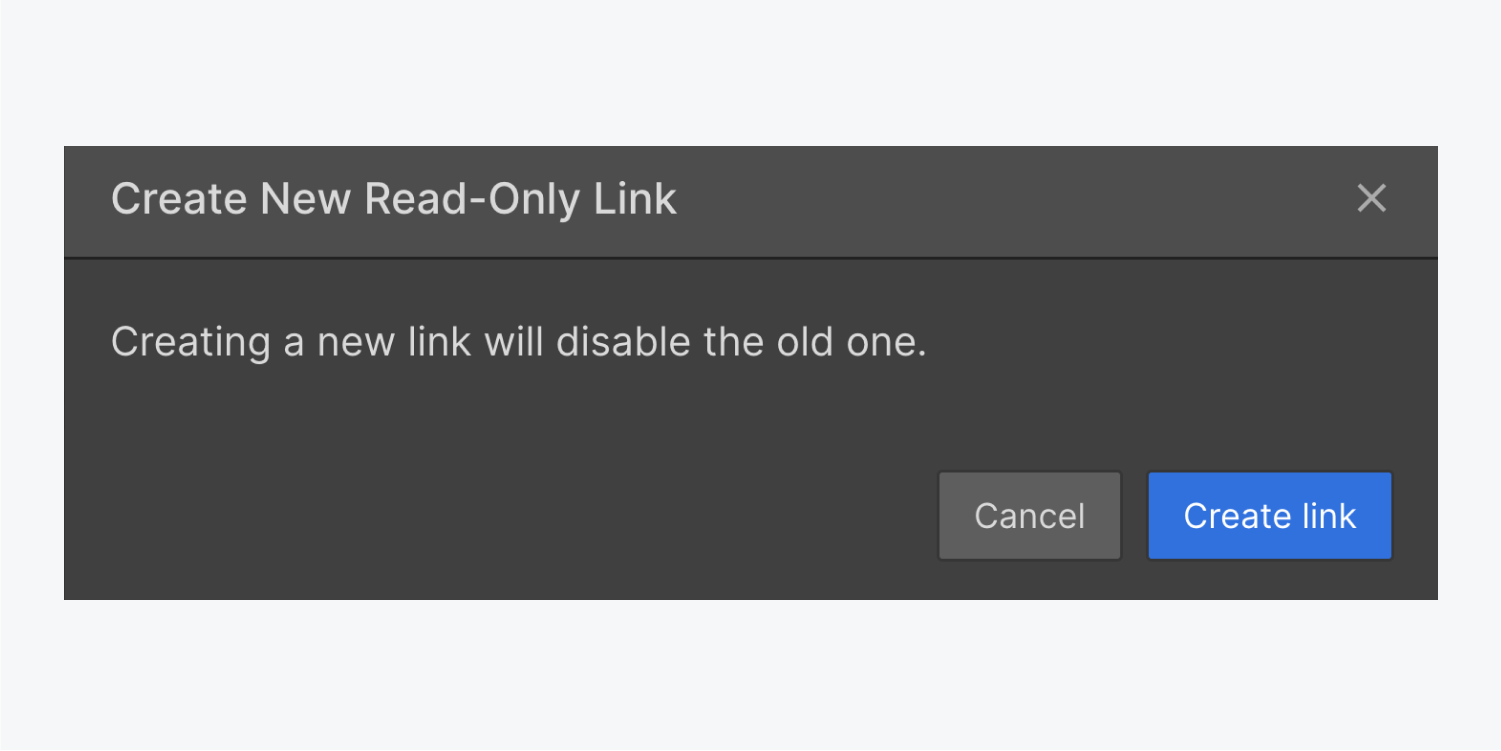
At some point, you may wish to change your site’s read-only link to restrict access to your site. To create a new read-only link, click the “share” button in the Designer’s top toolbar, then click Create new link. Keep in mind that this will disable the old link – meaning your site won’t be accessible via the old link any longer.
How to invite content editors
Inviting content editors is a great option for clients or business owners who’d like to add or update content. Content changes made by content editors will be saved – however, content editors won’t have access to the Designer, so they won’t be able to make changes to your site’s layout, styles, or interactions.
You can add content editors to a site from within the Designer or from Site settings > Members tab. Learn more about inviting content editors.
How to use Workspaces for collaboration
Workspace plans let you share design and editing controls with members of your Workspace to collaborate more efficiently. Every member of your Workspace can access the shared Workspace dashboard and create and edit any sites in the Workspace.
You can create a new Workspace from the Workspaces dropdown menu or from the Workspaces overview page. Learn more about creating and managing Workspaces.