
How to upload Digital Product ?
1. Access to the Snipcart Admin Panel.
2. Looking at the item on the left will have the following components
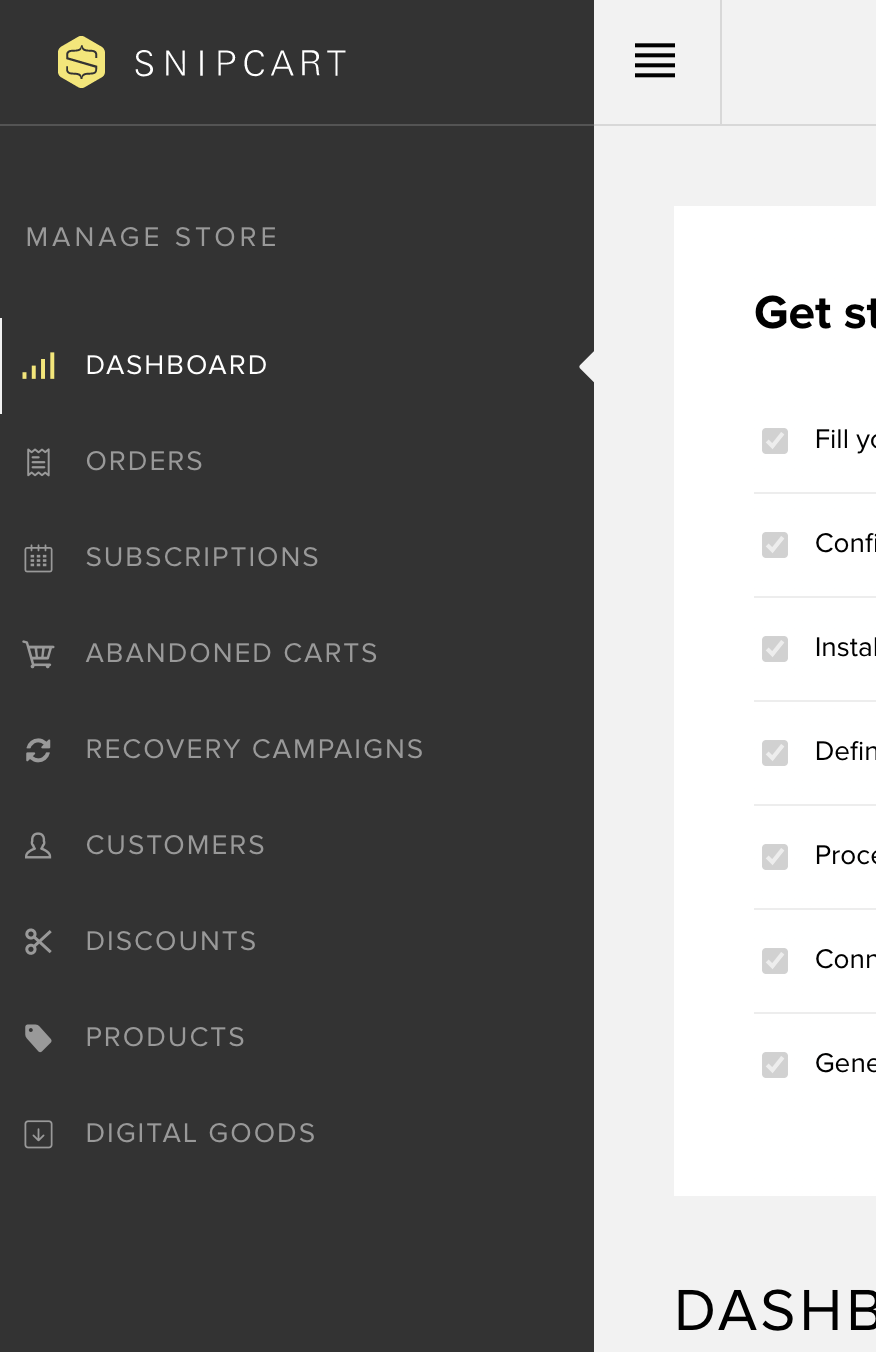
3. Click on "Digita Goods"
.png)
4. Click the "Upload" button from the menu or the "Upload first file" button from the empty listing to access this page.
5. To upload a new file, drag it into the drop zone. You can also click anywhere in the zone to browse files on your computer.
.png)
6. Once your file is uploaded, you'll land on the page above, which shows you 3 things:
- The GUID that has been generated for this particular file.
- File access expiry delay: Define the number of days the link you send to your customers will be accessible for.
- Maximum downloads per order: Define how many times a customer can download a file after the purchase.
Once you have one or multiple files uploaded you'll find a listing of all your digital products under the "Digital goods" section of your menu:
.png)